There is a difference between a clean car and a detailed car. A clean car looks fine from six feet away. A detailed car pulls light across each curve like silk, it smells clean without smelling chemical, the glass disappears, and the trim looks alive instead of chalky. Bringing a car to that level takes process, not products alone. It also takes a little restraint, because the fastest route to a gloss bomb can burn through clear coat, stain a badge, or leave holograms you will only see at sunset on a black door.
I have put thousands of hours into paint correction bays, tight garages, driveways in direct sun, boat slips, RV lots, and hangars. The fundamentals do not change, but the details matter more than the label says. Here are the methods that consistently restore showroom shine and let it last.
Start clean at the molecular level
If dirt and bonded contaminants remain on the paint when you begin correction or protection, you will trap them under that next beautiful layer or grind them into the clear. A great wash sequence removes loose grit, oils, fallout, and traffic film with the least mechanical contact possible. Pre-rinse thoroughly to float off sand and salt, especially behind wheels and along rocker panels. A dedicated pre-wash foam that dwells for 4 to 6 minutes loosens road film in a way a bucket never will, and a pressure rinse at a smart distance, roughly 12 to 18 inches, saves your clear coat and your trim.
Follow with a two bucket wash, one for rinse, one for soap, both with grit guards. Choose a high lubricity, pH neutral shampoo so you do not strip fresh protection or dry out rubber seals. Work top down, rinsing the mitt often. If you detail outdoors, watch your water source. Hard water will spot quickly on hot panels, so either work panel by panel, keep the surface wet, or use deionized water for the final rinse. When I switched to DI for final rinses on dark paint, water spots after a summer wash dropped to almost zero.
Drying is not just about speed. A plush towel with a damp assistant towel reduces friction and marring. Leaf blowers can help, but a proper filtered detailing dryer gives you better aim around mirrors, lug recesses, and badges without pushing dust across the paint.
Decontaminate iron and tar before you touch clay
You can feel paint that needs clay. It feels like fine paper rather than glass. Before you reach for a clay bar or synthetic mitt, remove embedded iron and tar chemically. An iron fallout remover reacts with ferrous particles, the little rust specs that pepper white paint and hide on dark colors. Spray onto a cool panel, allow a few minutes while it changes color, then rinse thoroughly. On highways and in winter states, follow with a targeted tar remover on the lower quarters and rear bumper to break down adhesive residue and asphalt. This sequence reduces how much you have to abrade the surface during claying.
Now, and only now, introduce clay. Lubrication is not optional. Use a dedicated clay lubricant or a slick shampoo mix spritzed onto the panel. Work gently in straight lines. If your clay grabs, you are short on lube or the surface is not ready. Knead or flip your clay often to avoid dragging particles. A fine grade clay is enough for maintenance and keeps marring minimal. Medium grade clay can be faster on neglected surfaces, but you will almost certainly need to polish after. When I train new techs, I remind them that clay does not equal clean paint, it equals clean enough to start polishing safely.
Light and paint thickness tell the truth
Inspection lighting is where you decide how aggressive to be. Natural light is unforgiving, especially on black and red. LED hand lamps in 4,000 to 6,500 Kelvin help reveal different defect types. Cross light shows RIDS, those deeper, random isolated scratches. Softer diffused light makes swirls and hazing visible. A swirl can hide in overhead LEDs but jump out when the sun hits low at 5 pm.
If you have access to a paint thickness gauge, use it. Most factory clear coat averages 30 to 50 microns, over a total paint stack of maybe 90 to 140 microns. Edges and body lines often run thinner. If a panel reads erratically thin, assume prior repairs or heavy work. On a black S sedan that had been “buffed” at an auction, we saw pillars in the low 20s on clear coat. That car got a one step and protection, not a hero cut. Knowing when to stop saves cars.
Tape matters as much as pads. Mask porous trim, sharp edges, badges, and PPF seams. A minute with automotive tape can prevent hours of cleaning burned residue from textured plastic.
Do a test spot and let it set the playbook
A test spot costs 10 minutes and saves you three hours of second guessing. Pick a representative section, often a horizontal area for hood defects and a vertical for door swirls. Start with the least aggressive combo you think might work. If a finishing polish on a foam pad makes 70 percent of the defects disappear, that might be your path. If not, step up to a medium polish on a microfiber cutting pad, then refine.
Cutting compounds differ. Some use diminishing abrasives that need a little heat and time to break down from coarse to fine. Others are non diminishing, which cut consistently and finish based on pad and technique. Microfiber pads cut faster, build heat, and dust a bit more. Foam cuts slower but can finish very clean. Wool runs cooler and can be brilliant on hard paints when you pair it right. The point is not to chase products. You are chasing a finish with the least sacrifice of clear coat.
Once you have a winning combo, lock your pad rotation. Keep a stack of clean pads ready. When a pad loads up with spent clear and compound, cut falls off and heat rises. Swap pads as soon as performance drops. Cleaning on the fly with a brush helps, but nothing beats a fresh pad.
Inside the correction bay at Xtreme Detailing and Ceramic Coatings
High gloss comes from precision, not pressure. At Xtreme Detailing and Ceramic Coatings, we keep polishers moving in slow, overlapping passes, roughly an inch per second, with arm speed steady across each panel. On soft Japanese clears, a gentle touch prevents micro marring. On rock hard German clears, we may need a microfiber cut and a dedicated finishing step to kill haze. We monitor heat by hand and by IR thermometer when needed. If a panel feels warmer than you can comfortably touch for more than a moment, pause. Heat softens paint and can make a pad mar where it would normally refine.
Edges deserve special treatment. Work off the edge, not into it, and reduce pressure near body lines. Compounds bite faster at an edge because less paint resists the pad. Door handles, mirrors, and pillars often carry the stories of past tunnel washes. A 2 or 3 inch pad on a small polisher lets you control these tight spots. There is pride in erasing those memories without creating new ones.
We also keep a log on each car. It includes pad and product combos, machine speeds, panel anomalies, and readings if the paint gauge came out. The next time that car returns for maintenance or upgrades, we pick up where we left off rather than reinvent the wheel.
Deep clean the interior without leaving it slick or shiny
A showroom cabin is clean and matte, not glossy. Vacuuming well is the base. Use crevice tools, then a soft detail brush around controls while the vacuum is on to catch loosened dust. For carpets and cloth seats, a pre spray cleaner and a bit of dwell time lighten the workload. Blot, do not scrub hard, or you will fuzz fibers. Where salt has crusted winter mats, hot water extraction with a rinse agent pulls minerals without leaving sticky residue that attracts new dirt.
Leather is skin. Gentle pH balanced cleaners on a microfiber applicator clean most modern coated leather. Aggressive scrubbing or harsh alkaline products lift dye and leave you with shiny, slick seats that feel wrong. A light interior steam pass has its place but keep the nozzle moving and avoid headliners unless you have experience. Interior glass gets a dedicated glass towel and a lower ammonia formula to avoid damaging tint.
Odor control starts with removal, not perfume. If a car smells like wet dog, clean the fabric and consider a cabin filter swap. Enzyme treatments can help. Ozone is a last resort, and you must ventilate properly and remove rubber floor mats. Two hours is often sufficient, more than that can attack plastics.
How Xtreme Detailing and Ceramic Coatings layers protection that lasts
Great correction begs for great protection. On daily drivers, you need a barrier against UV, acids, winter salts, and the micro abrasion of washing. Sealants, ceramic sprays, and full ceramic coatings each have a place. At Xtreme Detailing and Ceramic Coatings, we match protection to use case, climate, and willingness to maintain.
A true ceramic coating forms a semi permanent film measured in microns, not a visible shell, but enough to alter surface energy so water beads or sheets and grime releases easier. Expect a professional coating to last 2 to 5 years depending on chemistry and care. We prep meticulously, because coatings lock in whatever lies beneath. That means a panel wipe to remove polishing oils, clean nitrile gloves, fresh towels, and a controlled environment that keeps dust at bay. Ambient temperature and humidity alter flash times. In dry air, a coating can flash faster than you think, so shorter sections help. In humid conditions, a longer window gives more working time but can dull initial slickness. Some jobs get IR curing, especially in cool seasons, to stabilize crosslinking.
For customers who love to hand wash, a high quality sealant or SiO2 spray every 8 to 12 weeks gives a rich glow and slick feel with low commitment. Wax still has a look many people adore, especially on warm colors, but it will not endure heat and chemicals like a modern coating. You can layer a spray topper on a coating after it cures to add slickness without harming it.
Use Paint Protection Film where hits actually happen
Even the best coating does not stop a stone. Paint Protection Film, often called PPF, absorbs impact that would chip paint. The self healing TPU top layer flows at heat to erase fine swirls. Think strategically, because full body PPF is a choice, not a mandate. Hoods, front bumpers, mirror caps, rocker panels, and rear bumper tops take the worst abuse. Door cups and the little strip behind wheel arches pick up tiny impacts that add up. On a highway commuter, a partial front kit can keep value intact without covering every inch.
Edges and seams separate amateur installs from professional work. Wrapped edges where possible keep lines hidden and reduce dirt buildup. A clean, dust controlled bay matters more than people admit. A single speck under film shows, especially on black. The best film disappears until you go looking for it in the right light.
Coating on top of PPF is common, and it makes cleaning easier, but coat after the film cures. If you already have a ceramic coating, applying PPF over it can compromise adhesion, so plan the sequence. In our shop, we either remove the coating in areas to be filmed or we inform the owner of potential lift issues at edges.
Glass clarity and smart Window Tinting
Crystal clear glass makes a car look newer and makes night driving safer. Use a low lint towel dedicated to glass and fold it into clean quadrants. A two towel method, one to spread, one to buff, avoids streaks. Do the final pass with the window lowered an inch to catch the grime line at the top seal. If you fight haze, a glass polish on a foam pad cleans mineral spotting without scratching tempered glass. Keep abrasives away from aftermarket tint.
Tint is part performance, part privacy, and part aesthetics. Quality Window Tinting reduces heat load and glare, which also protects interiors from UV. Ceramic tints can reject significant infrared heat without going very dark. On some cars, 35 percent front and 20 percent rear balances visibility and comfort, but always check your local laws. Dot matrix and frit bands around windshields and quarters can create a silvered edge if the wrong adhesive meets them. Good tinters manage that transition with primers and patterning so the top edge looks factory.
Crossovers from Marine Detailing, RV Detailing, and Airplane Detailing
Working on boats, RVs, and aircraft sharpens techniques that translate directly to cars. Gelcoat on boats oxidizes heavily, and compounding a 30 foot hull teaches you about heat, pad saturation, and fatigue. You learn to break big jobs into zones and to wipe thin films before they cement. Marine Detailing demands UV resistant protection because water and sun attack gelcoat relentlessly. Many of the same SiO2 technologies that work on paint enhance gloss on gelcoat when chosen carefully.
RV Detailing is largely about scale and ladders. The high seams, vents, and slide outs collect black streaks that run after rain. Strong cleaners get results but can bleach decals, so test and step down in strength when in doubt. Large format dries patchy in the sun, so work early, work in shade, or work in sections and rinse religiously.
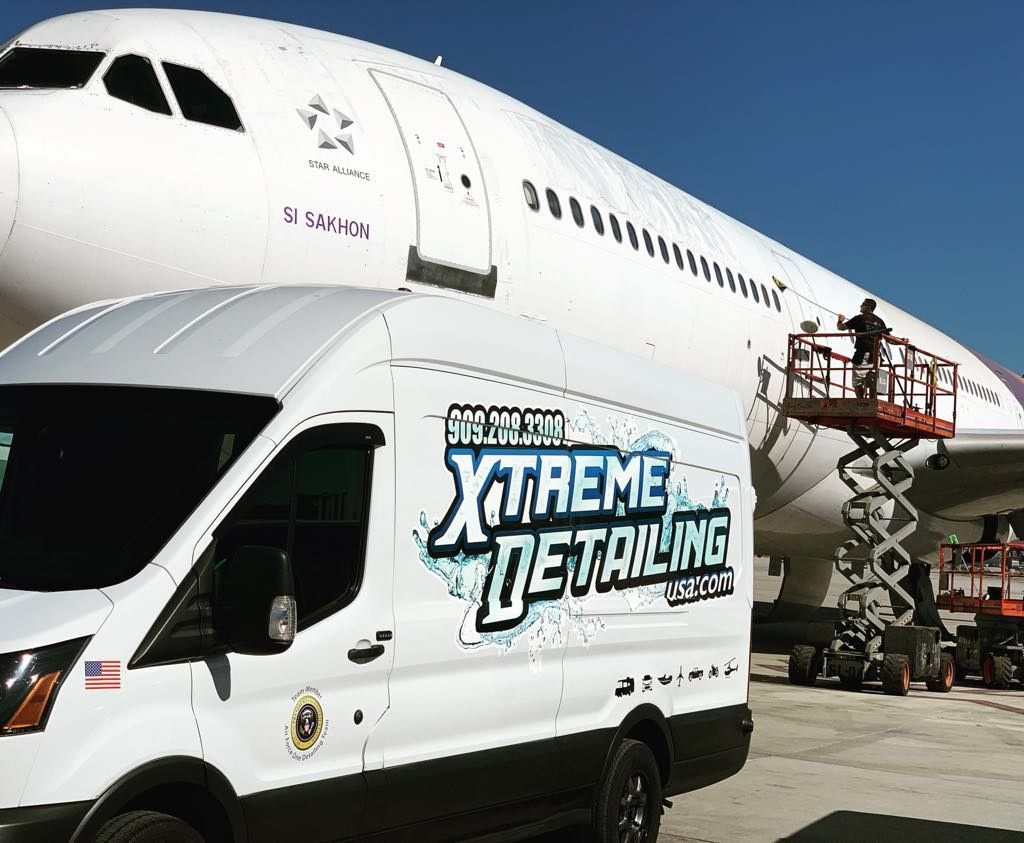
Airplane Detailing emphasizes static sensitive surfaces and strict product selection near pitot tubes, deicing boots, and composite structures. That discipline tightens your process on cars. You stop overspraying dressings near brakes, you tape more thoughtfully, you keep trim safe. If a product is safe around a Cessna’s acrylic and rubber, it is usually gentle enough for a modern car’s plastics.
Boat Shrink Wrapping, while not a detailing service per se, teaches protection thinking. Seams, vents, and supports dictate longevity. In winter storage, a little airflow prevents mildew. That insight translates to car covers and garage storage. A cover that breathes saves paint and seals more than a heavy tarp that traps condensation.
Avoid dressing disasters and restore trim the right way
That wet, greasy shine on exterior trim looks wrong and attracts dust. If a trim dressing slings onto paint, it can stain. Clean textured plastics with an APC at safe dilution and a soft brush, then rinse and dry thoroughly. If trim has faded to gray, a proper trim restorer bonds and darkens without leaving a gloss. Test on a hidden area. Some products can streak in rain if they are not fully cured. Mask paint before you apply, and keep a panel wipe handy to erase a slip.
Headlight lenses often need attention too. UV has punished them for years. Wet sand in measured steps, usually starting at 800 or 1000 grit if severely hazed, then work up to 3000, always cross hatching and keeping the surface wet. Machine polish to clarity, then protect, either with a UV hard coat or a ceramic product that contains real UV blockers. Without that, they will haze again within months.
Xtreme Detailing and Ceramic Coatings on balancing speed and safety
Every detail lives between two lines, efficiency and preservation. In the early days at Xtreme Detailing and Ceramic Coatings, I chased perfection on a silver crossover that lived on gravel. The owner used it for field work. I spent eight hours coaxing out 90 percent of defects that would Airplane Detailing Xtreme Detailing and Ceramic Coatings return with the next wash cycle. The better path was a swift one step, a durable coating, and fender PPF. The shine looked superb, and the finish stayed that way six months later. Matching technique to reality is not settling. It is professionalism.

We also calendar maintenance, because preservation beats revival. A quick decon and topper at six months keeps a coated car lively. Waiting two years and then reaching for heavy cut means removing precious clear coat that you could have saved.
Make maintenance mindless with a short, repeatable routine
The biggest shine upgrade you can give yourself is a maintenance routine that you actually do. Keep it brief enough to fit into a busy Saturday and your paint will thank you. A simple plan looks like this:
- Touchless pre rinse, foam, and pressure rinse to remove the worst grime without contact. Gentle contact wash with a clean mitt, then a DI rinse if available. Dry with a plush towel and a drying aid or SiO2 spray to add slickness. Clean wheels and tires last with dedicated tools and chemicals. Quick check of glass, door jambs, and a light interior wipe to finish the reset.
Do that every two to four weeks, and you break the cycle of grinding grit into your clear. The drying aid step not only makes towels glide, it also tops protection. If you live under trees or near sprinklers, add a neutralizer for water spots to your kit. Hit fresh spots within hours and you will avoid etched marks that require polishing.
Edge cases that reward caution
Matte or satin finishes want none of the above polishing. You treat them like delicate skin. Wash, decontaminate without clay unless a manufacturer approves, and protect with matte safe products that do not add gloss. If you polish a matte panel, you will create shiny spots that cannot be reversed without repainting.
Convertible tops collect pollen, bird fallout, and mildew. Vacuum gently, then use a fabric safe cleaner, and protect with a fluoropolymer that repels water without sealing pores shut. Do not blast them with pressure. That only drives dirt into the weave.
After a repaint, let the body shop advise on cure time before you seal or coat. Solvents need to off gas. Some modern paints cure quickly under bake, but air dry finishes can need 30 to 60 days before you trap solvents under a film.
The detailer’s short checklist for a first rate result
A few controlled habits make the rest easy. These are the ones that never fail to pay off:
- Keep separate towels and buckets for paint and wheels, and color code if possible. Check work under multiple light sources before calling it done. Replace worn towels and pads, frayed edges scratch more than you think. Label product dilutions and sprayers so you never guess mid job. Note what you used per car, so the next visit starts ahead, not over.
The art is to move calmly through each step. Gloss comes from what you leave behind, but it also comes from what you do not do. You do not wash in circles, you do not chase 100 percent on thin paint, you do not ignore edges, and you do not put protection on a dirty surface. Follow the sequence, pick tools you trust, and adapt them to the paint in front of you.
Showroom shine is a habit more than a moment. Whether you drive a daily sedan, a weekend classic, an RV that crosses states, or a center console that sees salt, the same patience and preparation carry through. When a car rolls out, the reflections feel deeper because the surface is truly clean, the paint is properly leveled, and the protection fits the way the car lives. That is the result worth protecting.
Xtreme Detailing and Ceramic Coatings
15686 Athena Dr, Fontana, CA 92336
(909) 208-3308
FAQs About Car Detailing Services
How much should I spend on car detailing?
The cost of car detailing can range from $100 to $300 for standard services, while premium packages like paint correction or ceramic coating can cost several hundred to over a thousand dollars. The right budget depends on your vehicle’s condition and the level of protection you want.
Is detailing worth the money?
Yes, professional detailing is a worthwhile investment. It helps protect your vehicle’s paint, maintains the interior, and preserves resale value. In areas like Fontana, CA, where sun exposure and dust are common, regular detailing can significantly extend your car’s lifespan.
How often should you fully detail your car?
A full detailing service is typically recommended every 4 to 6 months. However, this can vary depending on driving habits, weather conditions, and whether your vehicle has protective treatments like ceramic coating.
What time of year is best for car detailing?
Spring and fall are ideal times for car detailing. Spring helps remove winter buildup, while fall prepares your vehicle for harsher weather conditions. In Southern California, detailing year-round is beneficial due to constant sun exposure and environmental contaminants.
How long does car detailing last?
The results of detailing can last anywhere from a few weeks to several months, depending on the services performed and how well the vehicle is maintained. Protective options like ceramic coating can extend these results significantly.
Do I need ceramic coating after detailing?
While not required, ceramic coating is highly recommended after detailing. It adds a durable layer of protection, enhances shine, and makes future cleaning much easier, especially in high-heat environments like Fontana.